Trailer Rebuild
|
|
I had known or some years that I was on limited
time with my boat trailer. It was built for the boat in 1955 and
after nearly 60 years of service, the passage of time had taken its
toll. The dreaded metal cancer was slowly working its way through.
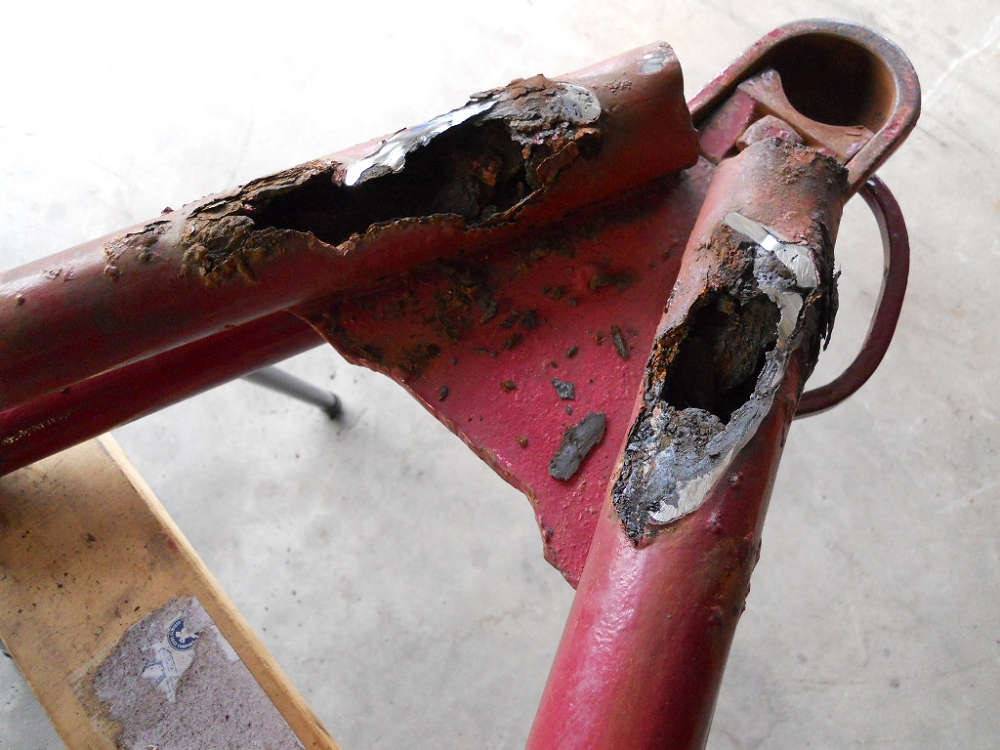
When towing the boat one day with a friend, we heard a "ting" noise. I pulled over and walked around the trailer and found a gusset missing. It had broken away at a rusted weld. The trailer was falling to pieces. It was time. |
|
|
I had decided that I wanted to reproduce the
trailer's tube type construction. Not having any real welding
skills, I talked my mate Ross into building the trailer for me. Ross
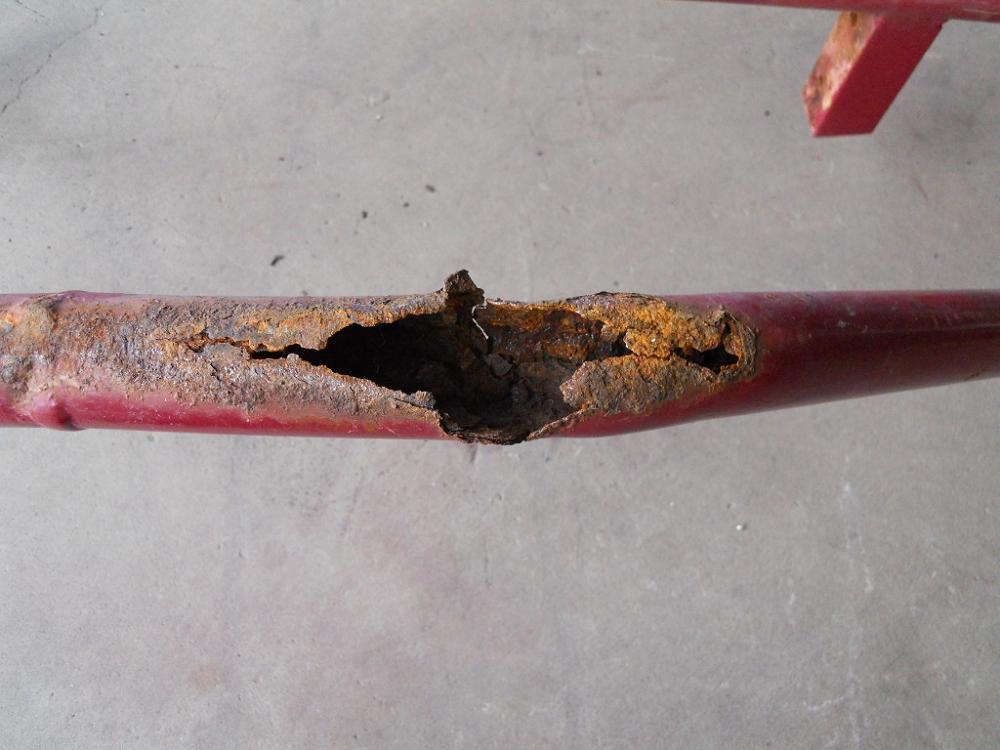
was up to the challenge. It was none too soon. The extent of rust wasn't realised fully until the rebuild had started and the trailer was turned over. The rust in the lower pipes at the tow hitch was considerable. |
|
|
The boat was floated off the trailer in the house dam and transferred onto another trailer that I had. This trailer was about ready for scrap as well, but would support the boat for a couple of weeks while the trailer was being built. |
|
|
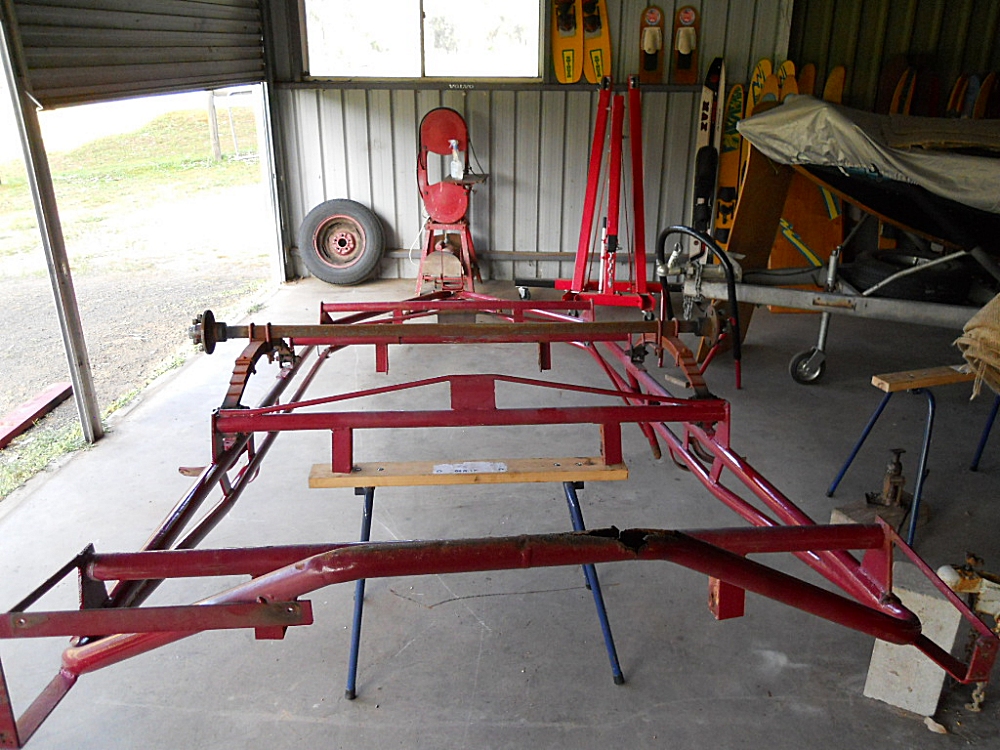
With the boat off, measurements were taken and the trailer stripped down. The new trailer would be lengthened to allow the spare wheel to be carried on it and also allow the car's tailgate to be opened without having to remove the trailer. |
|
|
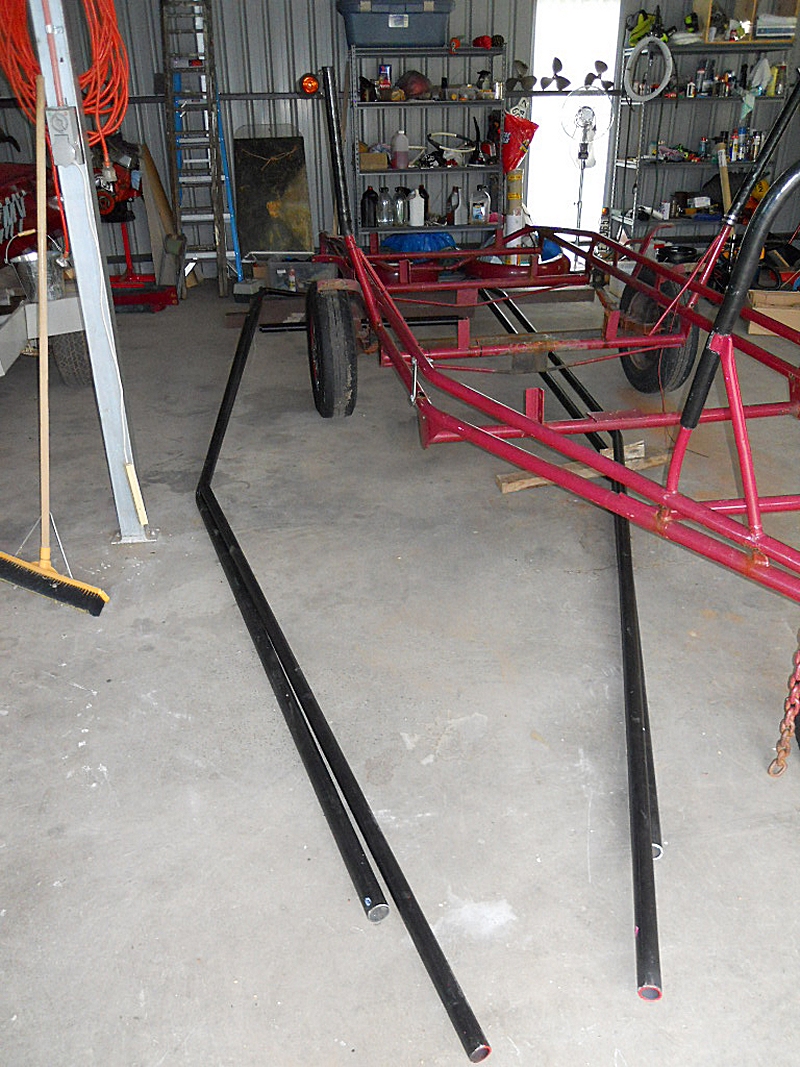
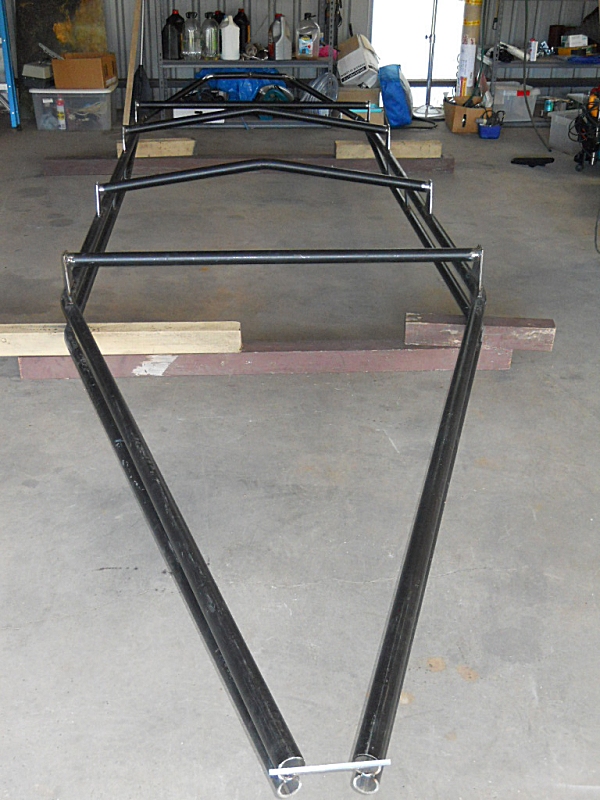
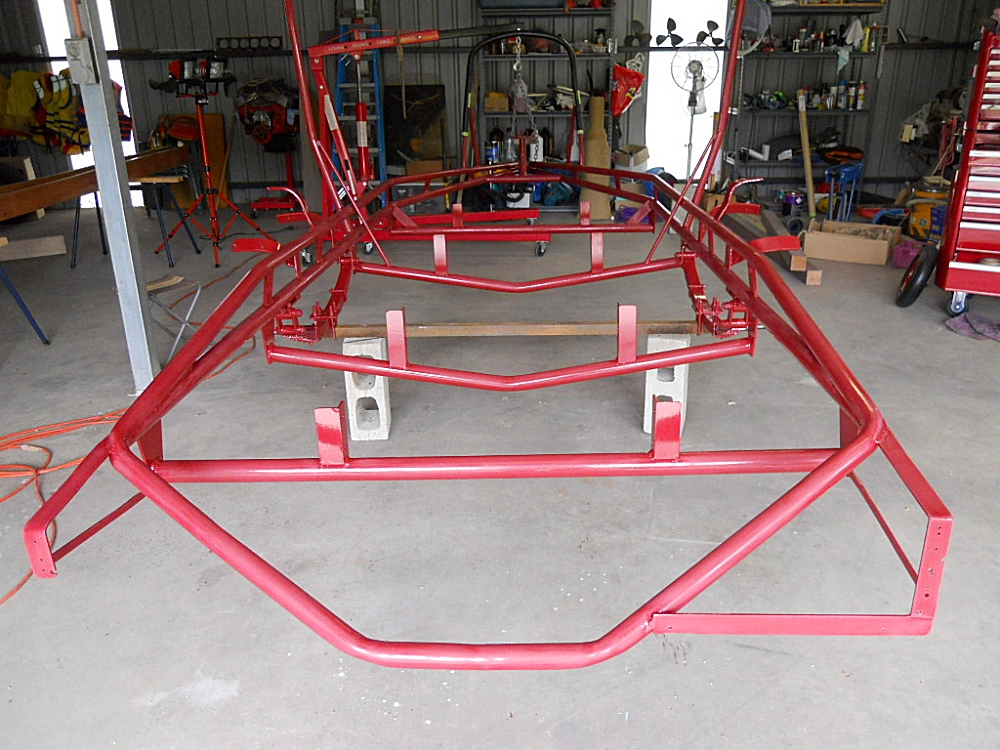
Materials were purchased and construction begun. The two upper tubes were the tricky ones in that they each had four bends, with two having a double direction change. Of course, both had to remain symmetrical. |
|
|
It was decided that the original mudguards, wheels, axles and springs, bow hoop, jockey wheel and tail light brackets would be re-used |
|
|
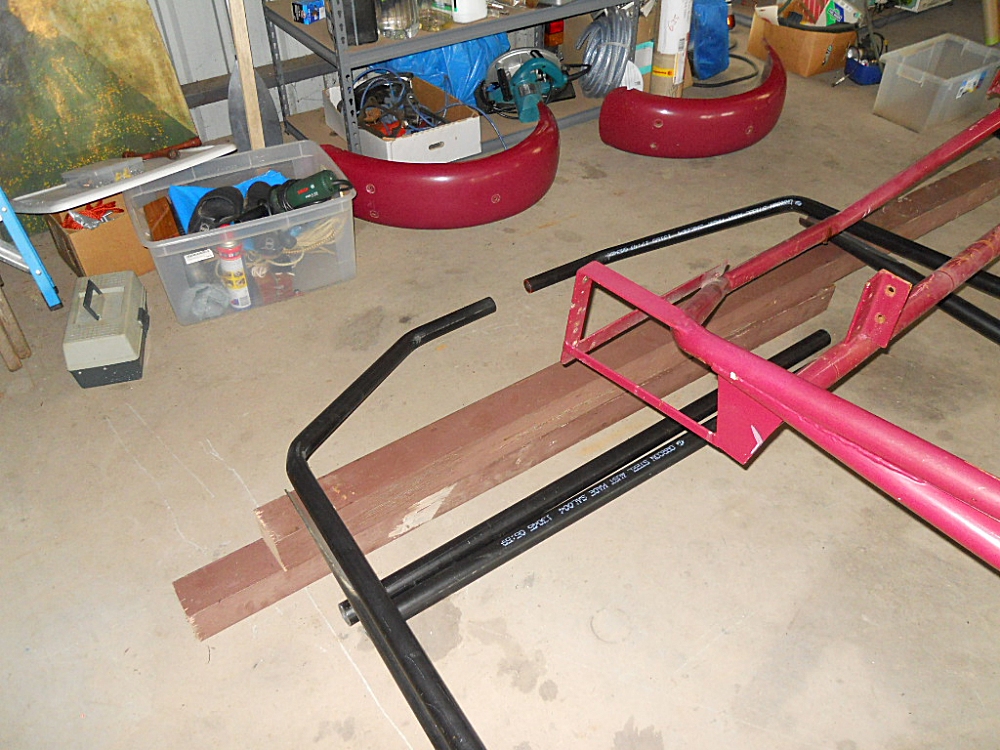
The old trailer was kept close by as a pattern |
|
|
The two middle cross members were vee'd to allow the boat to come onto the trailer easier than the original straight members would allow |
|
|
A drop saw made life easy |
|
|
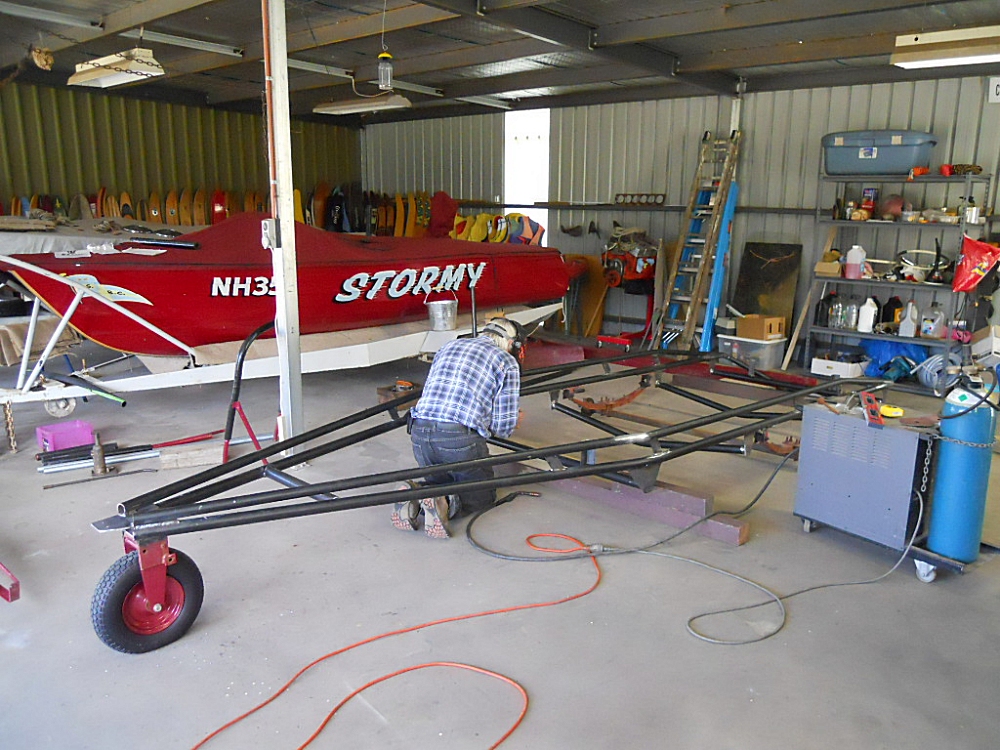
After only a couple days, the chassis really started coming together |
|
|
Ross hard at it |
|
|
The timber sleds being aligned. The positions of these were changed from the original positions in that were neither aligned with the engine bearers or ran parallel to each other. |
 |
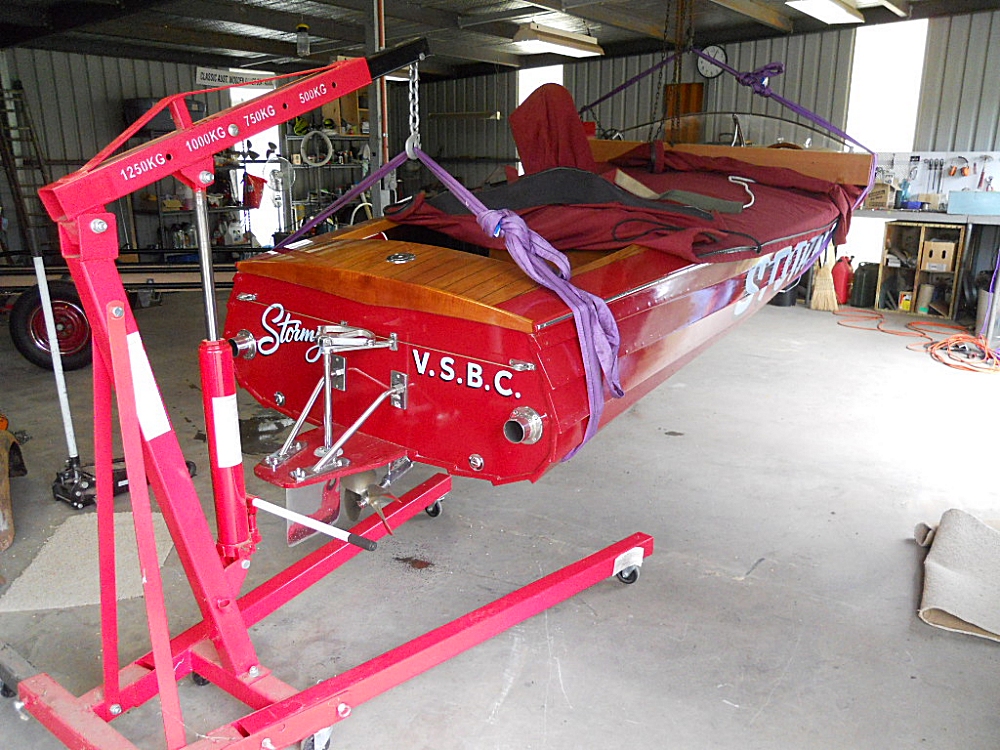
It came time for a trial fitment. The front of the boat was slung from a block and tackle positioned immediately forward of the engine. |
|
|
The rear was lifted using an engine crane |
|
|
Several trial fitments had to be made to get the hoop position right as well as the shape in the sleds correct to fit the hull shape |
|
|
This was the final fitment for the sled shape |
|
|
With the construction completed, it was time for paint. Three coats of enamel, brushed on. |
|
|
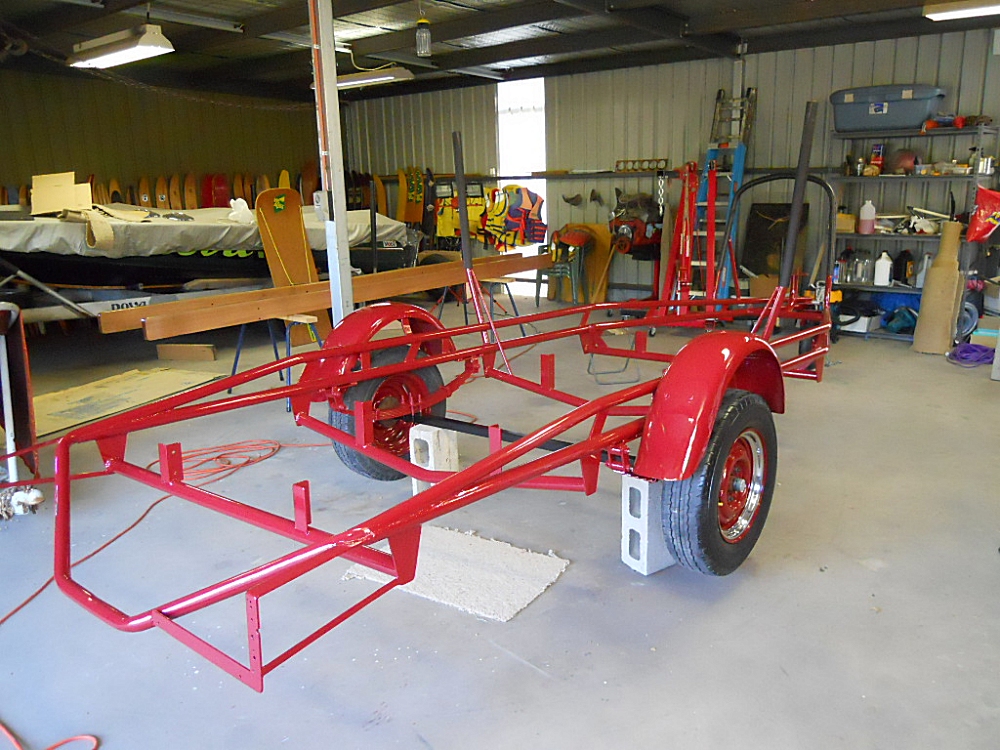
With paint complete, the trailer was assembled and placed back on its wheels |
|
|
It was time for the clear coated timber sleds to be fitted and the installation of lights and wiring |
|
|
The trailer completed except for protective carpet on the sleds |
|
|
Putting the boat back on the trailer for the
final time proved tricky. With the guide poles now fitted, the
spreader across the forward sling would not pass the poles to allow
the bow to slip under the bow hoop. After unsuccessfully trying numerous combinations and configurations, the spreader bar was removed and the boat lifted (carefully) without it. This then allowed the boat to move forward and under the hoop. |
|
|
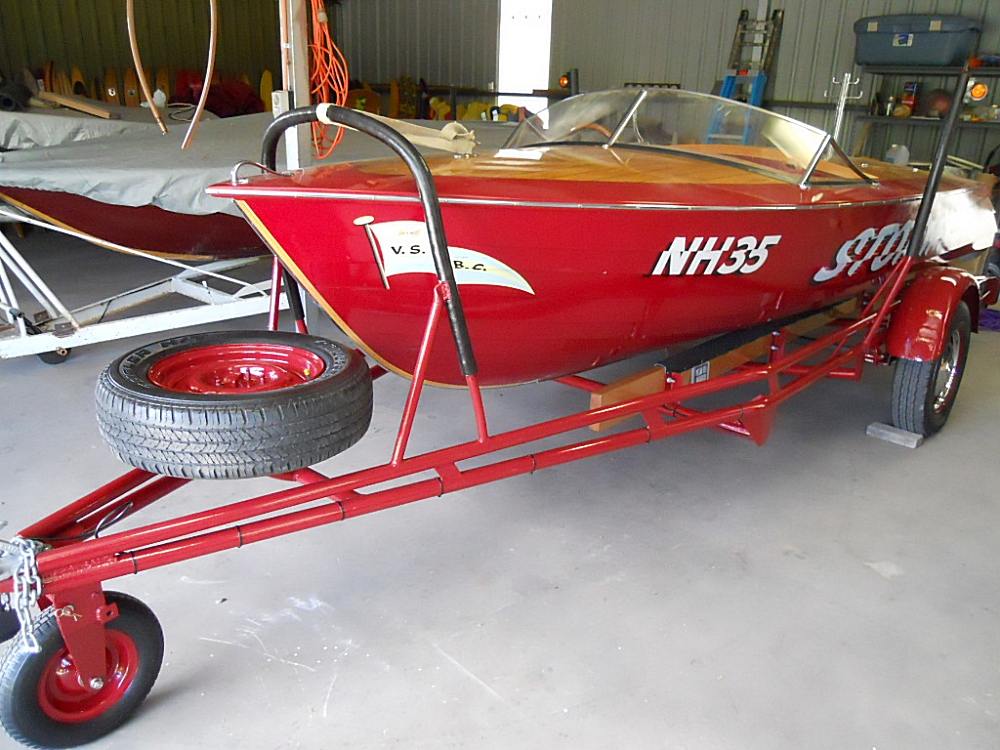
Safely on the trailer and correctly positioned |
|
|
Outside to wash three weeks of shed dust off the boat |
|
|
Ready for a practice launch |